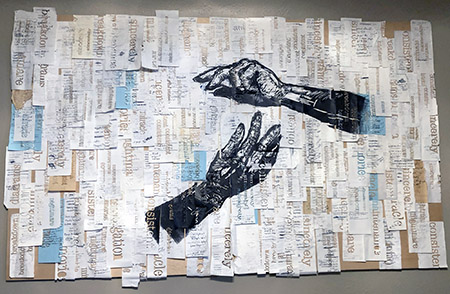
It is finally time to start the lace piece that all my needle lace classes were preparing me for. 🙂 My amazingly talented friend Catherine Chauvin is a print maker. I have many pieces of her artwork, but the mixed media print pictured above is by far my favorite. I fell in love with it the moment I saw it.
Catherine kept all the notes she wrote (lists & random things to remember) for a year. She laser cut words into the paper, and then inked a print on top. The art is really big – taking up most of my living room wall. While the picture is great, the actual piece is breathtaking in its size and intricacy.

I plan to reproduce Catherine’s artwork “Hierarchy” in three stages. Each hand will be a separate needle lace piece and the background with words will be made in bobbin lace. All three will ultimately be put together to mimic the original.
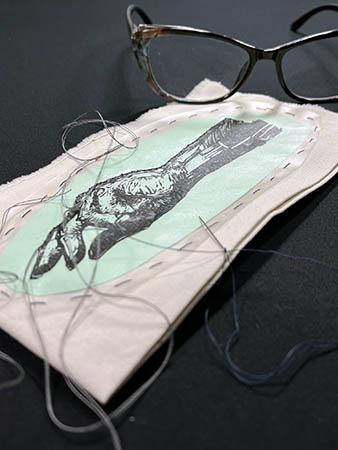
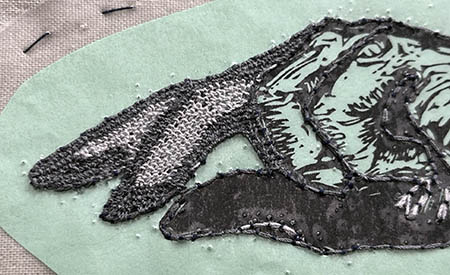
To begin, I laid down the outline of the hand or the cordonnet. This provides an anchor to work all the stitches. I had to include a picture of the back, because I love seeing the back of pieces. As you can tell, I am a “knotter.” Most needle lacemakers use a back stitch to start, but I find it is a little too secure when you are ultimately taking out the stitches.