You can find a video explaining the preparations of materials on my YouTube Channel.
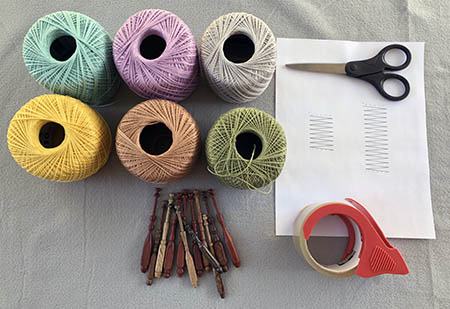
To prepare your materials to make bobbin lace, you will need:
– 6 Pairs of bobbins / 12 individual bobbins
– Lace pillow
– Pins
– Printed pattern
– Scissors
– Packing tape
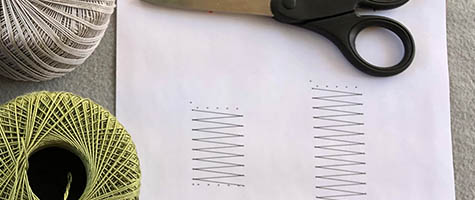
Cutting & Protecting the Pattern. Begin by downloading/printing the PDF trail pattern found in the patterns section of this website. Traditionally, bobbin lace patterns are printed on cardstock to help increase the amount of times you can reuse the pattern, but printer paper will be fine for this starter pattern. When cutting out the pattern, leave a little space between the print and the edge of the paper.
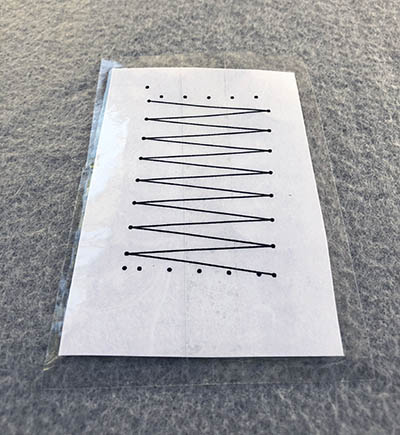
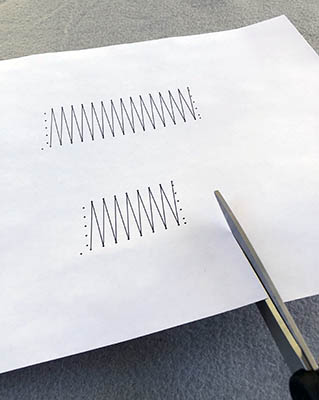
We can make the pattern more durable by covering it with either packing tape or contact paper. Be sure you are applying the tape to the pattern on a non-fuzzy surface or the taped pattern will look messy. Depending on the width of your tape, you may need to apply multiple strips to cover each side. Once you have sealed the pattern with tape, you can trim any excess with the scissors.
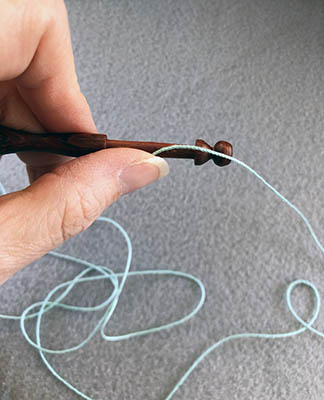
Winding Bobbins. Twelve bobbins are needed for this pattern, which will be wound into 6 pairs. Bobbins are worked in multiples of two, which is why lace books normally state the amount of pairs needed to complete the pattern. I am choosing to wind different colors on each pair. While this is not necessary, it will aid in seeing the thread paths.
To wind a bobbin, begin with the bobbin in your left hand. Hold the thread under your thumb against the bobbin. Wind the thread moving away from your body. When you have the needed amount of thread wound, make a hitch.
The hitch is created by wrapping your finger around the end of the thread near the bobbin to make a loop. Next, you will bring the bobbin down/around your finger and through the loop you created.
The hitch keeps the thread from unwinding off your bobbin. To extend the thread or take up slack simply pull the loop on the hitch and turn the bobbin. You can also extend the thread by putting tension on the thread with one hand and turning the bobbin with the other.
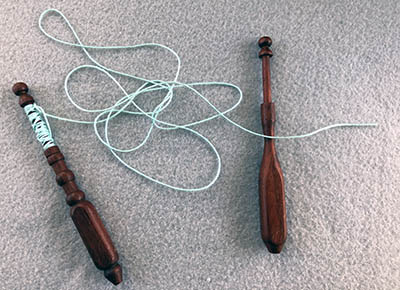
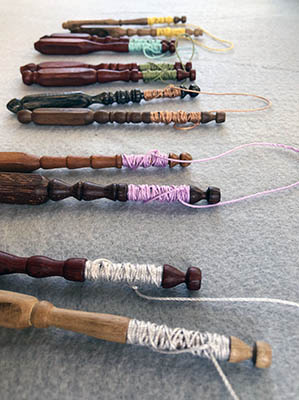
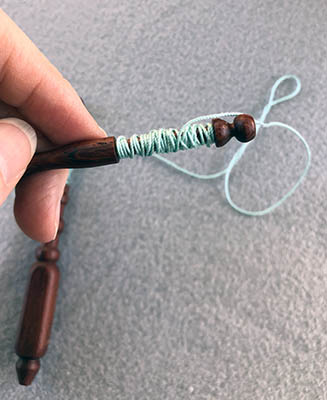
Now that your first bobbin is wound, pull out enough thread for another bobbin, cut it, and wind the second bobbin like the first. Continue winding bobbins until you have 5 pairs. The remaining pair of bobbins will be used as weavers.
The weaver pair travels back and forth through the other threads, so the weaver will need more thread than the other bobbins. I usually load the weaver bobbins with an abundance of thread, without going overboard. Do not overfill the bobbin or your hitch will not stay in place.
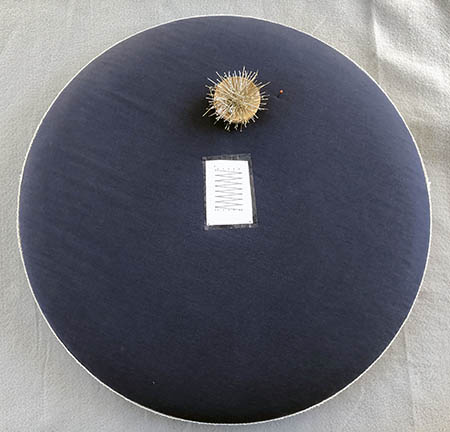
Placing The Pattern On The Pillow. You will need 4 pins, the taped pattern, and your lace pillow. Center the pattern on pillow and move it up a bit (away from your body). You want to give room for the bobbins to hang, even when you are at the bottom of the pattern. Once you have the pattern where you want it, pin the 4 corners of the pattern. I try to angle the top pins down towards the bottom of the pillow, and angle the lower pins towards the top of the pillow.