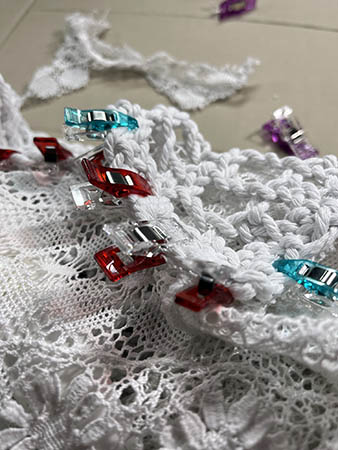
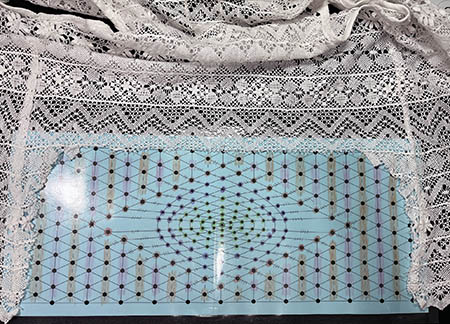
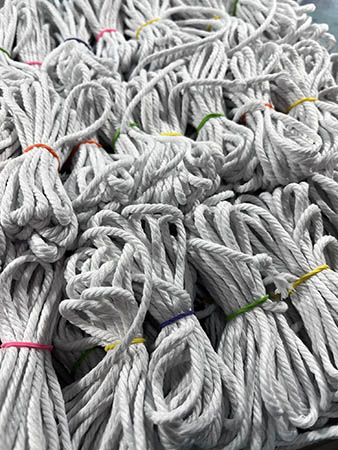
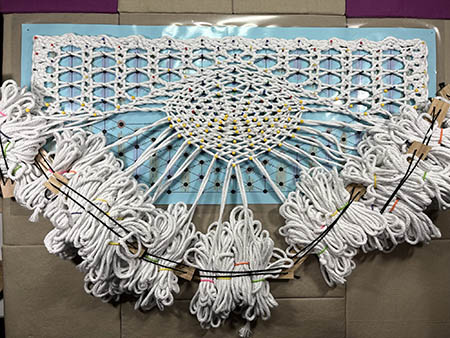
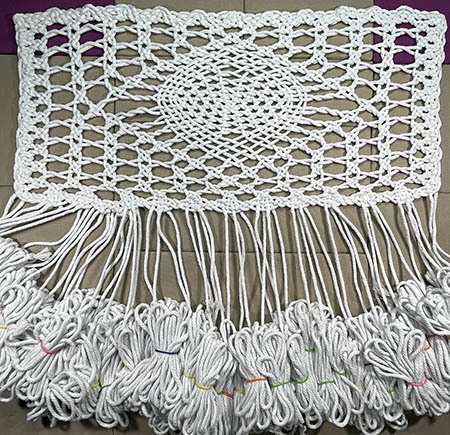
With my samples complete, it was time to create lace to fill in the gap on the back of a KUR Collection bobbin lace shirt. I used bundles of 3 mm macramé cord, since there was too much material to fit on a bobbin. While it might look like I am using a lot cord, remember that the cords are supposed to hang down to the model’s ankle from the hemline.
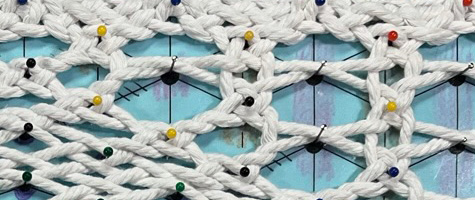
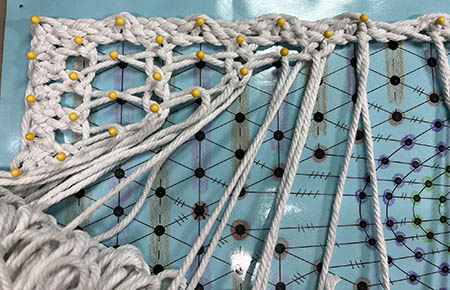
Just as soon as I got into the design of the lace, I realized the sample stitches I used would not work. The cord was too thick for the pin-hole spacing. To make it work, I changed the alternating open/closed pin from a whole stitch (ctct) to a half stitch (ct). I also did not have room to do a complex asymmetrical spider, as I originally planned.
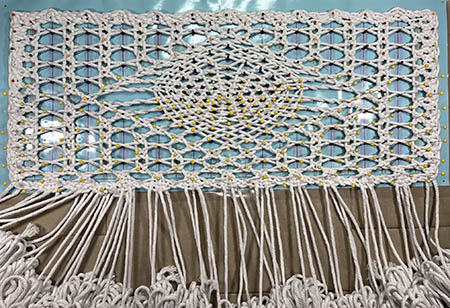
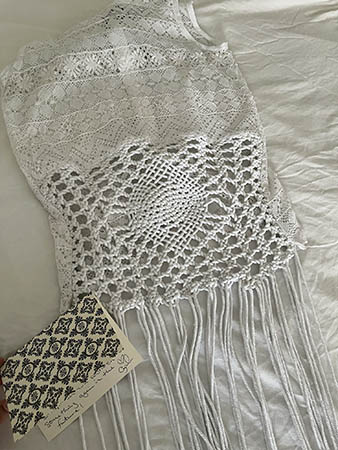
Once the large bobbin lace was made, I sewed it onto the shirt. There is quite a contrasting difference between the fine and large bobbin lace, but it turned out great!!